Hands-on Pearl Harvesting at the Pearl Workshop: Shinju no Sato
Pearl Workshop Shinju no Sato is located in a an offshoot of Ago Bay, in Shima, Mie Prefecture. Shima juts out into the Pacific Ocean, but the land around the bay protects it from typhoons, making it a great environment for Akoya oysters. This is the home of Akoya pearls, and of pearl cultivation itself. And today, I had the opportunity to be a part of it.
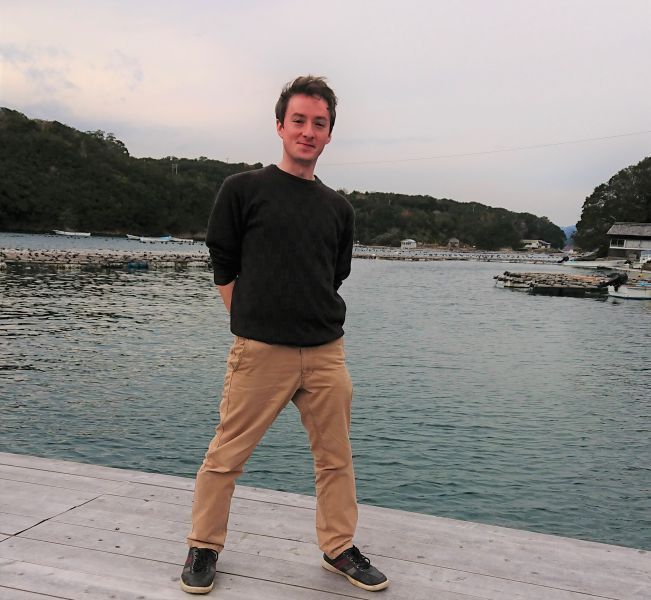
-Author's Introduction
My otaku side brought me to Nagoya, Japan in 2012, but I stayed for the food, countryside towns, and gorgeous mountain scenery. I was born and raised on the east coast of the US, but I dare say I never grew up. I never shut up about Japan.
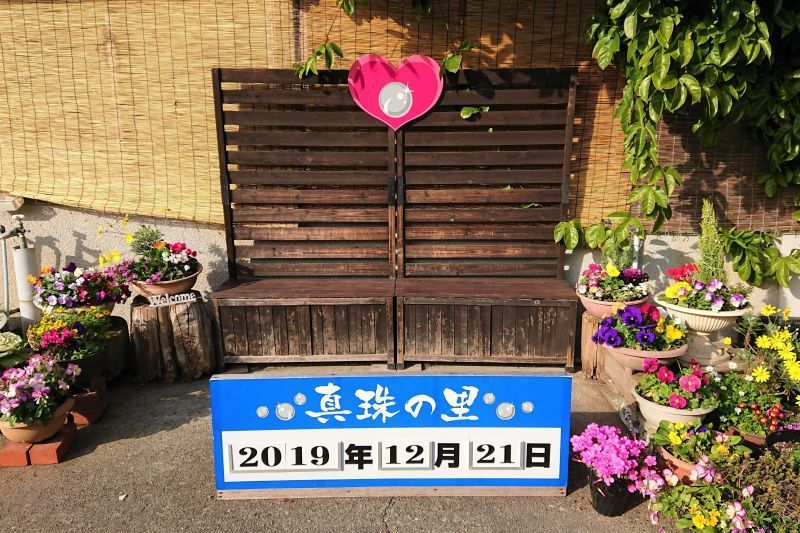
Caption: The road to the workshop was pretty scenic. Someone there clearly spends a lot of time gardening to make for colorful Kodak moments.
Upon arriving at the shop, Another group of visitors had just gone in and they were all Japanese, so they recommended that I hang back because there was a video to watch, and I could see it in English. It’s also available in French and Chinese. Excited to get started, I went inside and started eyeballing the whole workshop process while I was waiting.
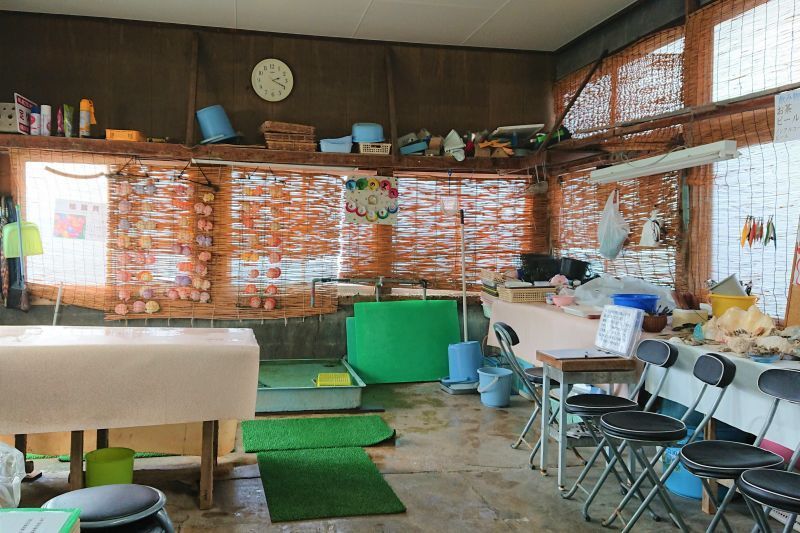
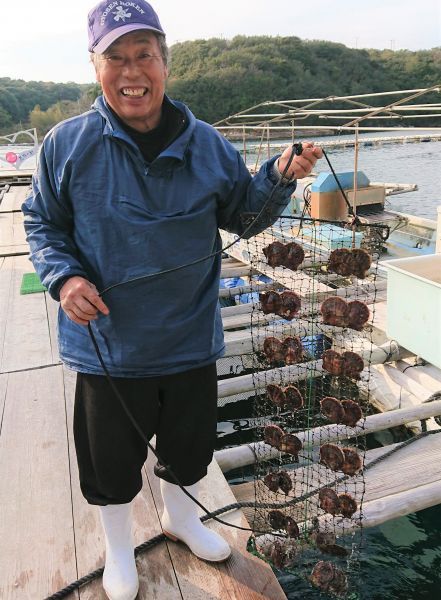
Caption: This was a real workshop with all the equipment needed for harvesting pearls on a large scale. I just noticed the sign in the picture that says they sell tea and beer! Man, I missed out.
First up was the video. It briefly explained the science behind the pearl cultivation invented by Koichi Mikimoto in 1893, the first of its kind in the world. This is the same method used today. The pearl is opened only wide enough to insert a “nucleus”, a tiny bead. The clam will start coating it in a substance called nacre, and try to spit it out, as it would any other foreign substance that gets inside naturally, like sand, but the nucleus is too big. It stays stuck inside and nacre keeps being applied in many layers. It slowly grows, becoming a pearl. At least, that’s ideally what happens. Only one in five clams actually produces a nice pearl. So many things can cause the process to fail, or to produce a misshapen pearl.
Caption: There’s a lot going on inside these little animals.
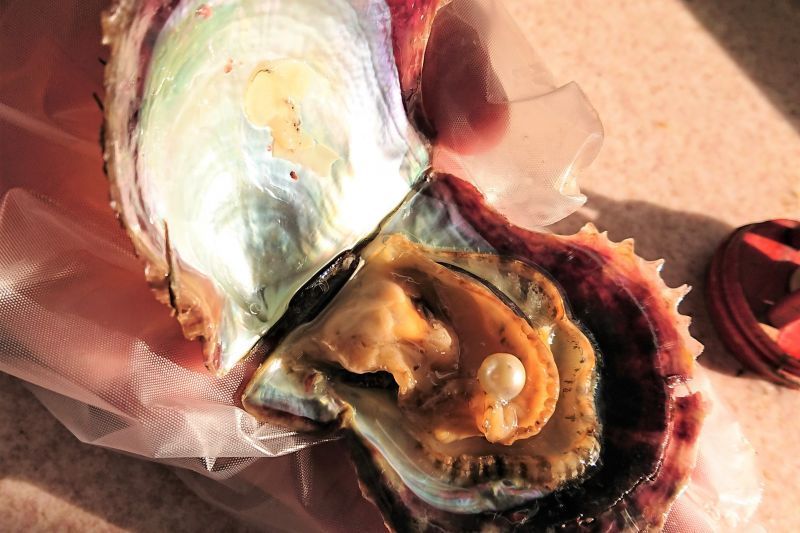
It was time for me to try my hand at it. With gloves and a small knife, I dug around in a natural Akoya clam that they already felt a pearl in. Under their keen tutelage and a little bit of digging around in all the clam flaps, there was its shining jewel.
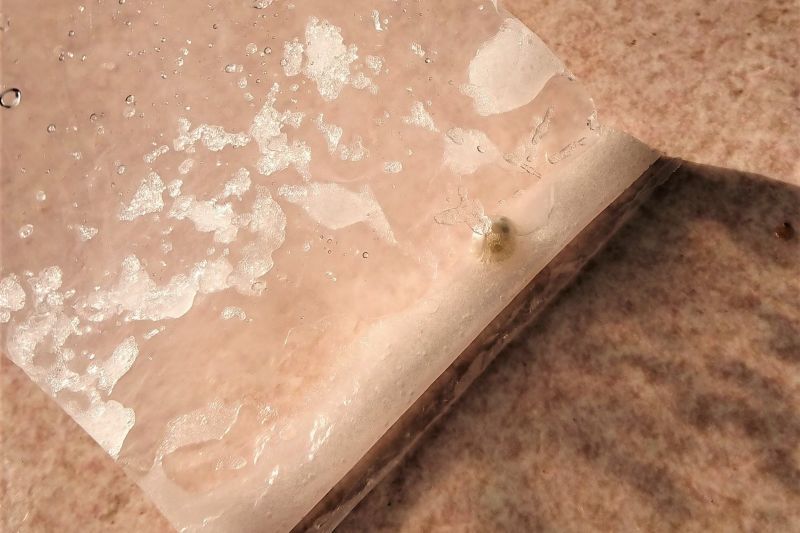
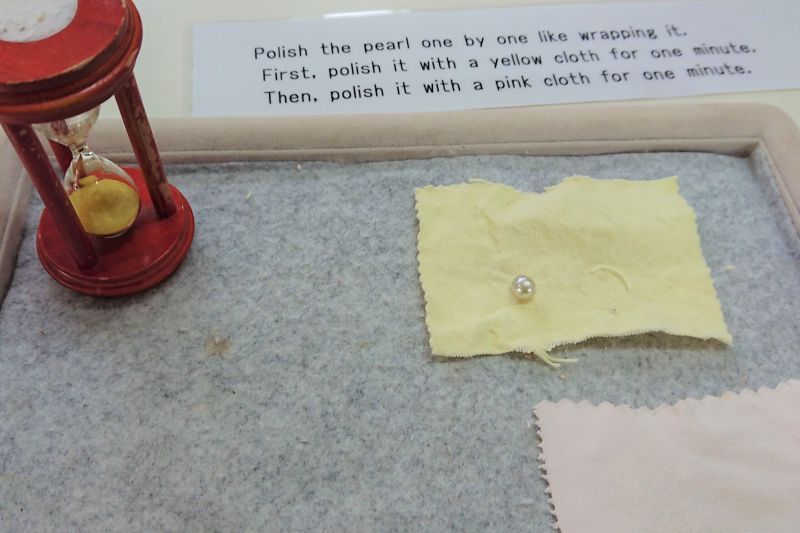
Caption: After extraction, the pearl was put in a baggy with some salt and I was told to rub it around in there for a while to get all the sea gunk, detritus, and clam chunklets off of it.
The guide took the rest of the clam, chopped it up, and said “we can eat this.” Hah! What a joker. But...maybe? I didn’t have much time to think about it. On to the next stage!
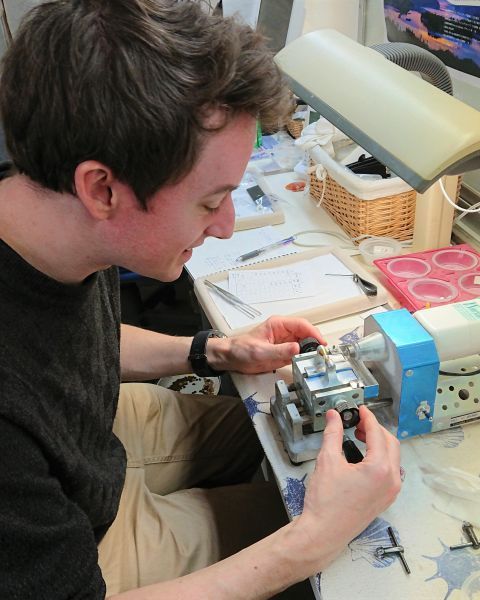
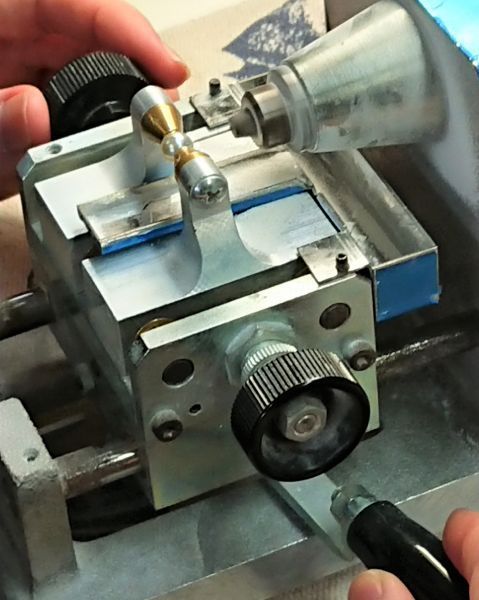
Caption: They suggested drilling through the lump as it might best hide it in the finished product.
Rather than drilling straight through, you have to drill just about halfway through on one side, and then complete the drilling from the other. This prevents the pearl from cracking. And why are we drilling my poor pearl so much? Well it’s up to you to decide what your pearl grows up to be.
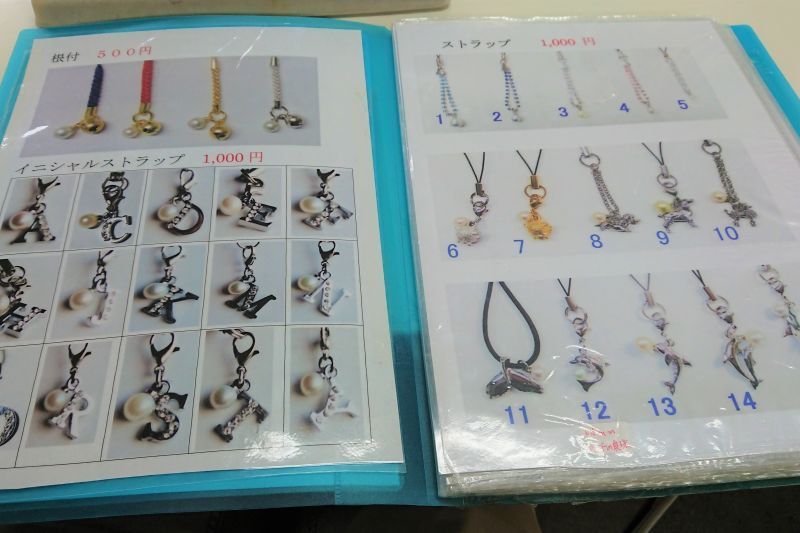
Caption: This binder is full of all kinds of jewelry you can get your pearl made into. Prices vary depending on what you want.
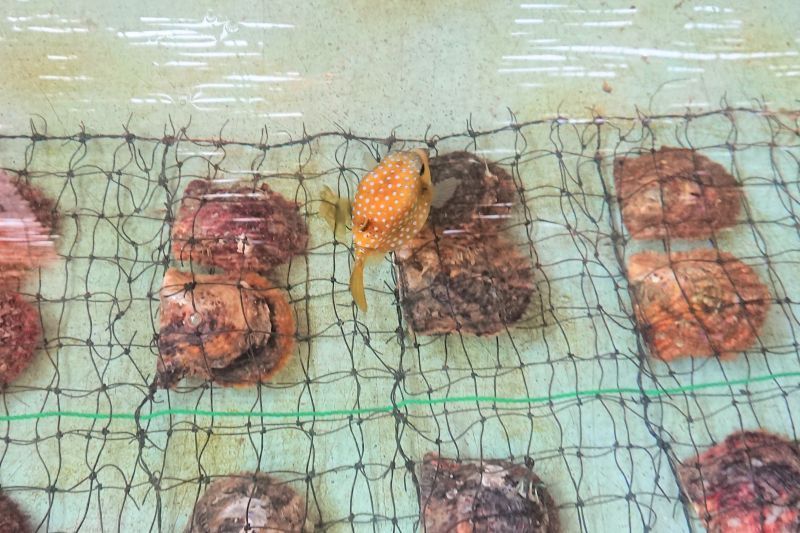
I chose my pearl’s destiny and prepared it to be glued and then I was given the chopped up bits from my clam to feed to the fish outside. They have a bunch of fish that live in a cage in the water of the bay. Watch your balance as you head out on the dock to feed them.
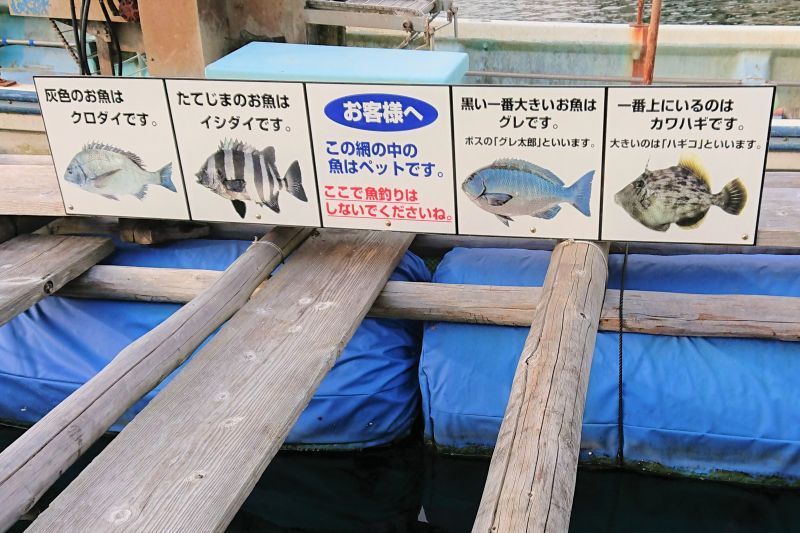
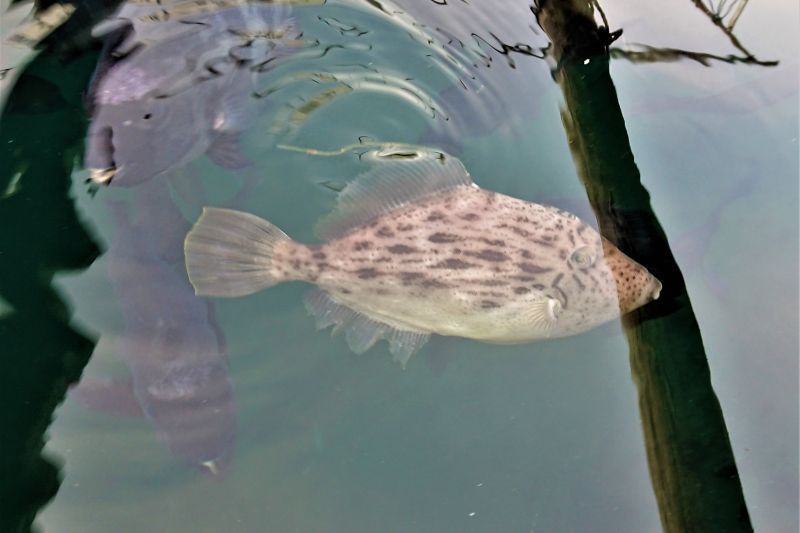
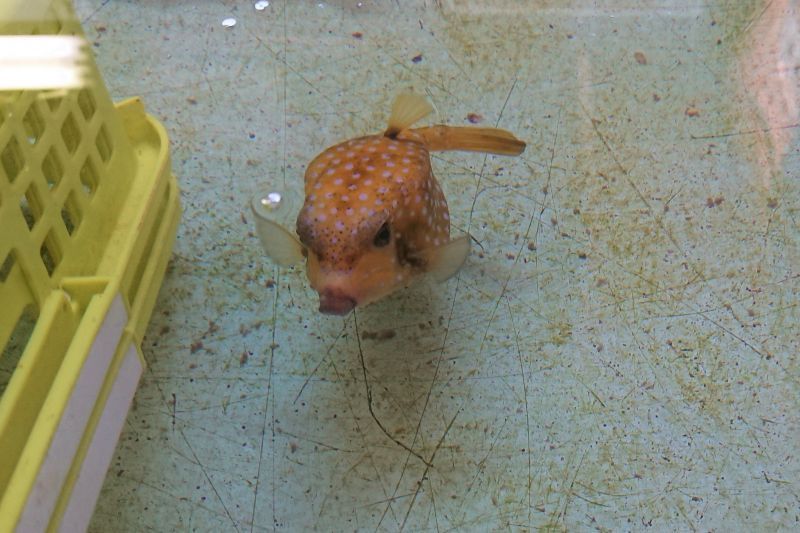
Caption: A little girl and I had a great time trying to treat the less aggressive fish to our clam bits.
So afterward, I went back inside to enjoy the fruits of all my hard labor, and the staff’s labor, but mostly the clam’s labor, right? It was then they handed me something unexpected. I took it in stride and pretended that I knew this was going to happen.
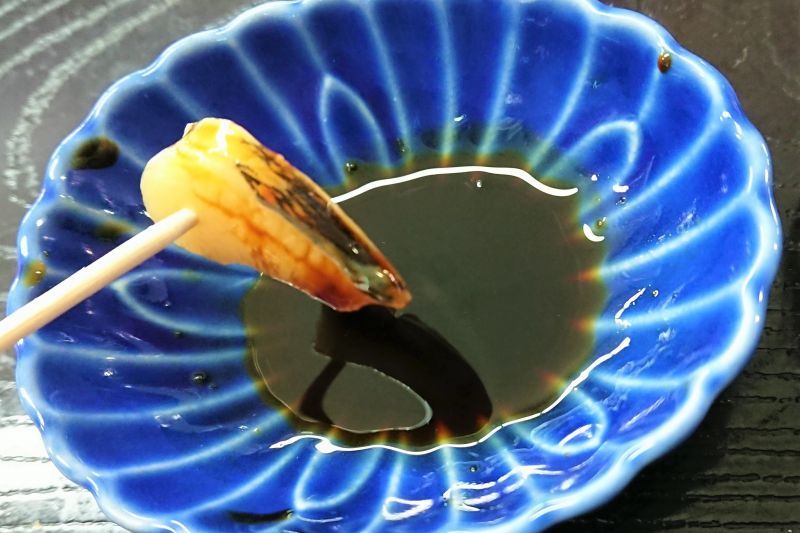
Caption: Surprise seafood happens all the time in Japan! Here I’m eating a piece of the chopped Akoya clam.
Wow. I guess he really wasn’t joking after all. I gobbled it down with a bit of soy sauce.
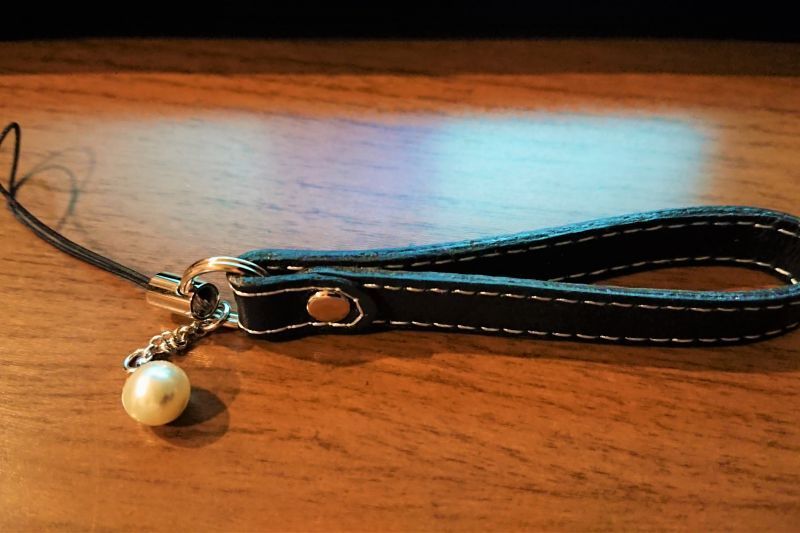
It didn’t take long at all for the staff to present me with the finished product. The first real pearl I’ve ever owned!

You can take Kintetsu Lines from Ise (20 min.), Osaka (2.5 hours) or Nagoya (2.5 hours) to get to Toba City. From there it’s about a 40 minute ride on the Kintetsu Shima Line to Kashikojima Station. Check out their website below for information on all the other activities they offer, such as fishing, kayaking, all-you-can-eat oysters, and more. And if you’re planning on going to the Satoumian Amasan Hut Experience, it’s only a half hour walk from the Pearl Workshop.
Pearl Workshop "Pearl Village" (Shinju Kobo "Shinju no Sato")
1125-88, Shima-cho Koshika, Shima-shi, Mie-ken, 〒517-0704, Japan
<Access>
Kintetsu Shima Line
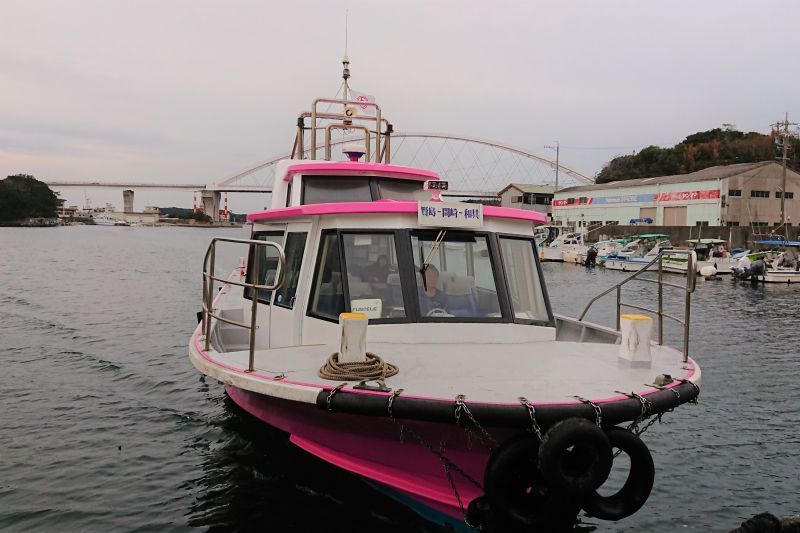
Disembark at Kashikojima Station, and take a 25 minute ferry ride from Kashikojima Port to Wagu Port.
Or
Disembark at Ugata Station, take the bus towards Goza and get off at Koshika Bus Stop.
<Operating Hours>
9:30am to 5:00pm, Last Entry at 16:00
<URL>
http://s-tamachan.net/